Summary
Wet wall panels are quick to clean and have fewer joints. Tiles offer more choice in shape, texture and pattern. Neither is automatically better: panels often suit busy shower areas, while tiles suit detailed or character-led designs. Many bathrooms work best with a planned mixture of both finishes.
The case for wet wall panels
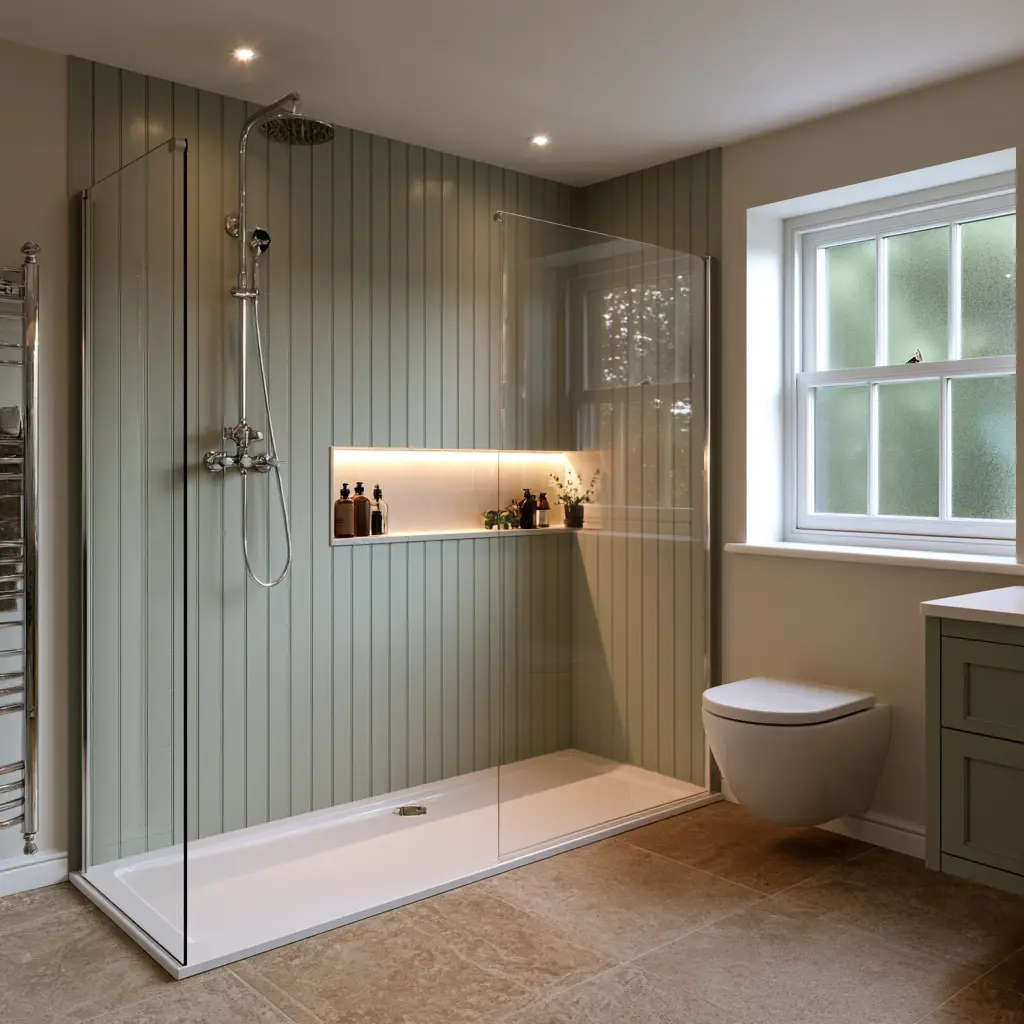
Panels cover large areas with very few joints, which makes them attractive for showers and busy bathrooms. They can create convincing stone, concrete or panelled effects and normally need less routine grout cleaning.
Accurate joints and edge details still matter. A panel system is not an excuse to ignore the condition or waterproofing of the room behind it.
- Fewer grout lines
- Large continuous patterns
- Straightforward cleaning
- Useful for shower enclosures
- Wide range of stone and colour effects
The case for tiles
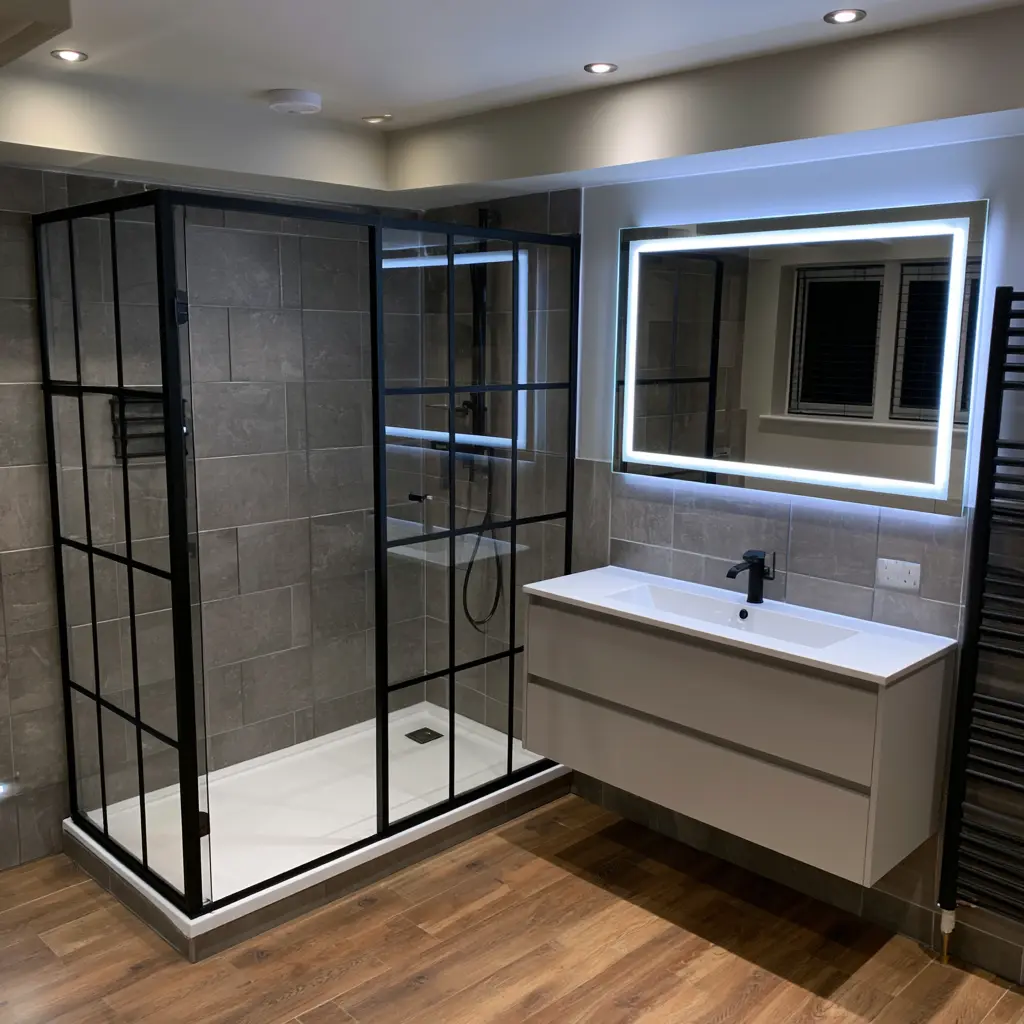
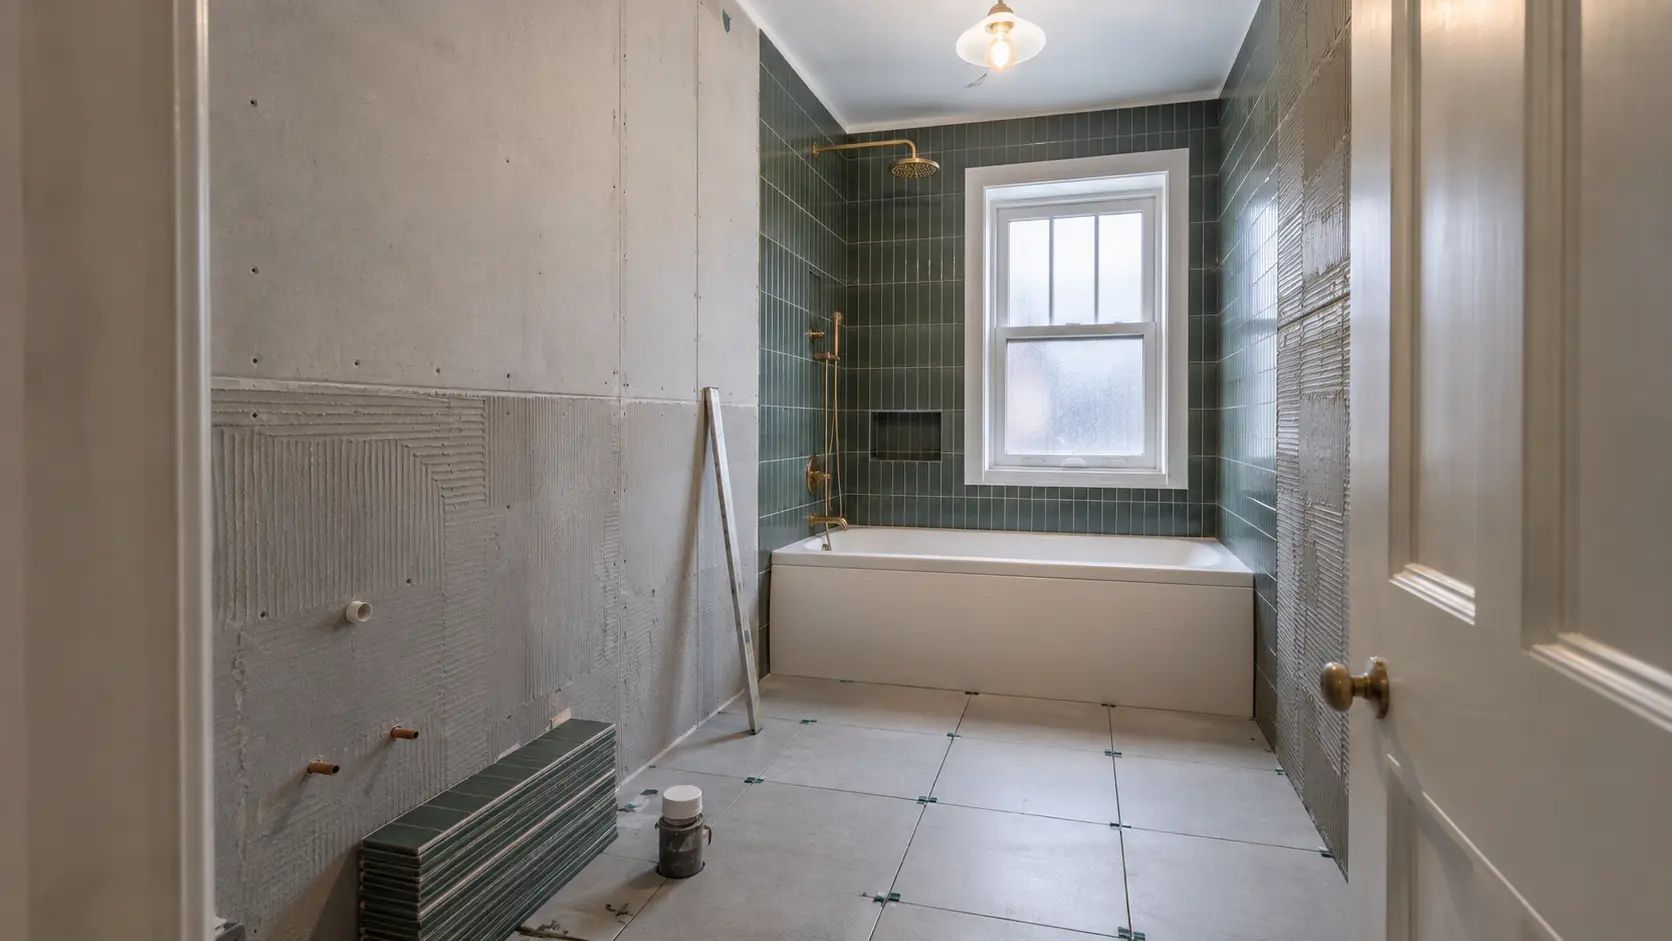
Tiles offer more freedom in scale, texture, colour and pattern. They can follow awkward shapes and allow a feature area to be created with precise detail.
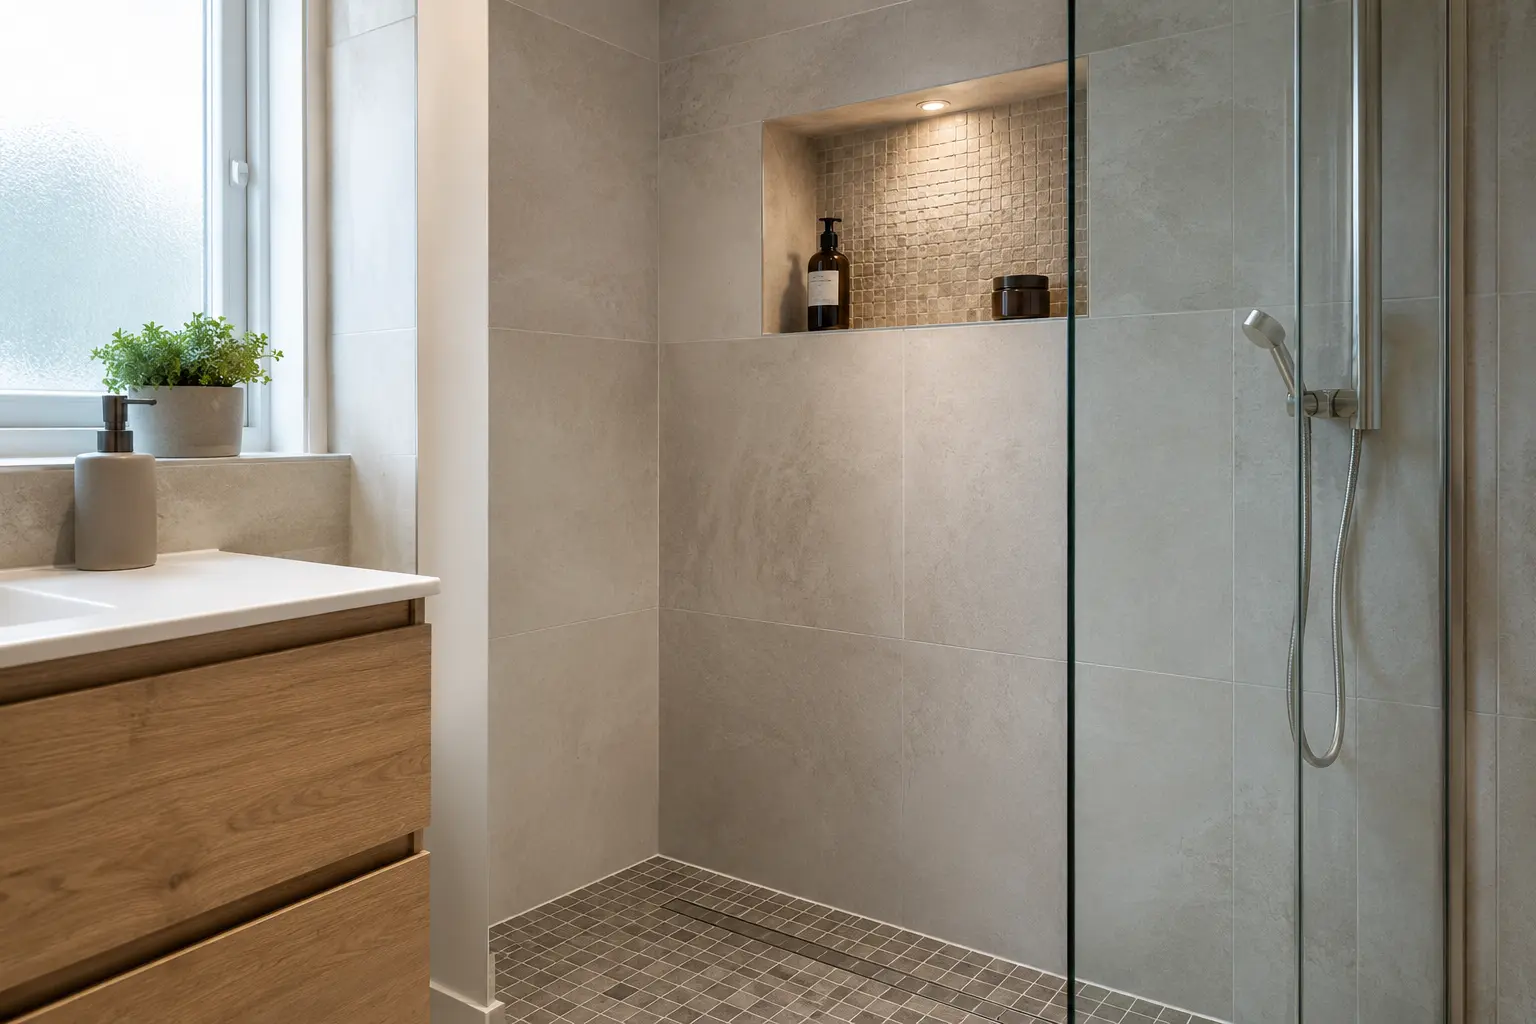
The amount of grout depends on the tile size and laying pattern. Large-format tiles reduce joint lines but demand good preparation and accurate cutting.
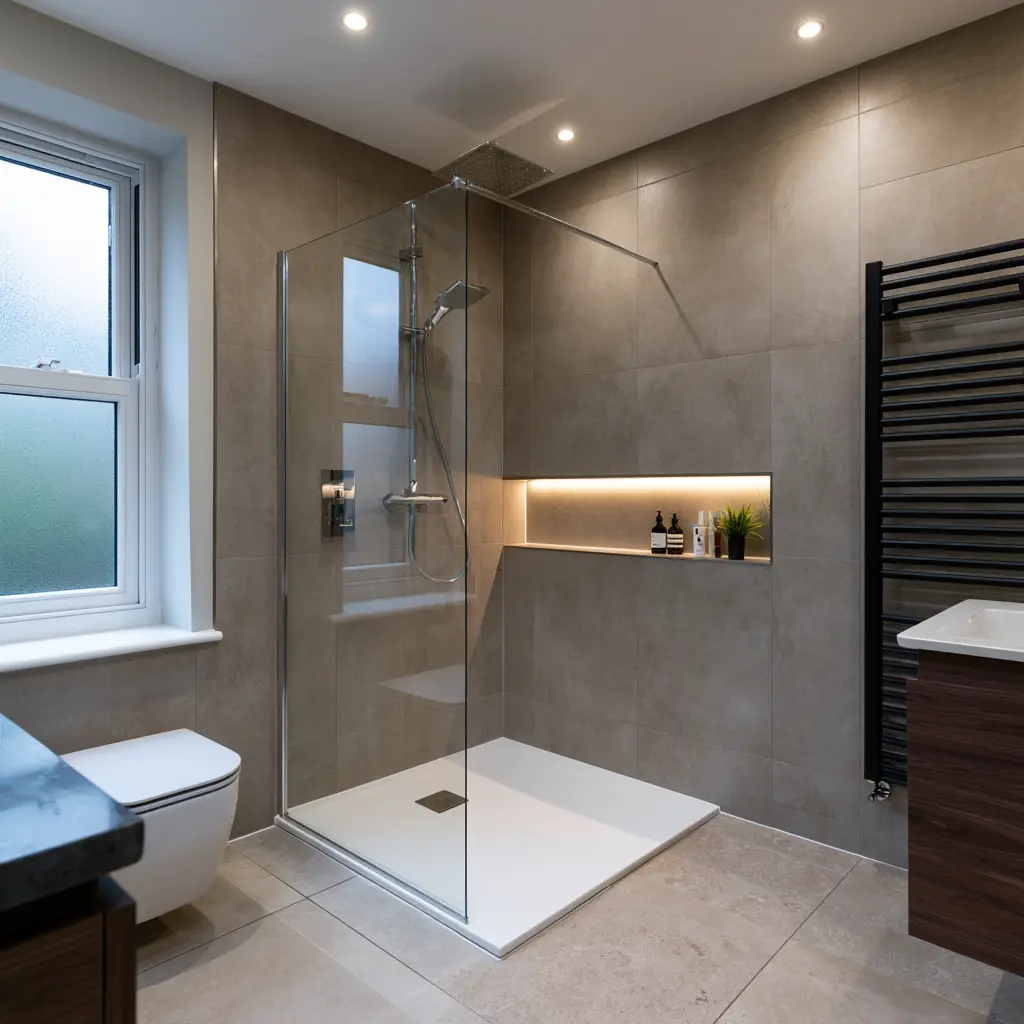
A mixed finish often gives the best balance
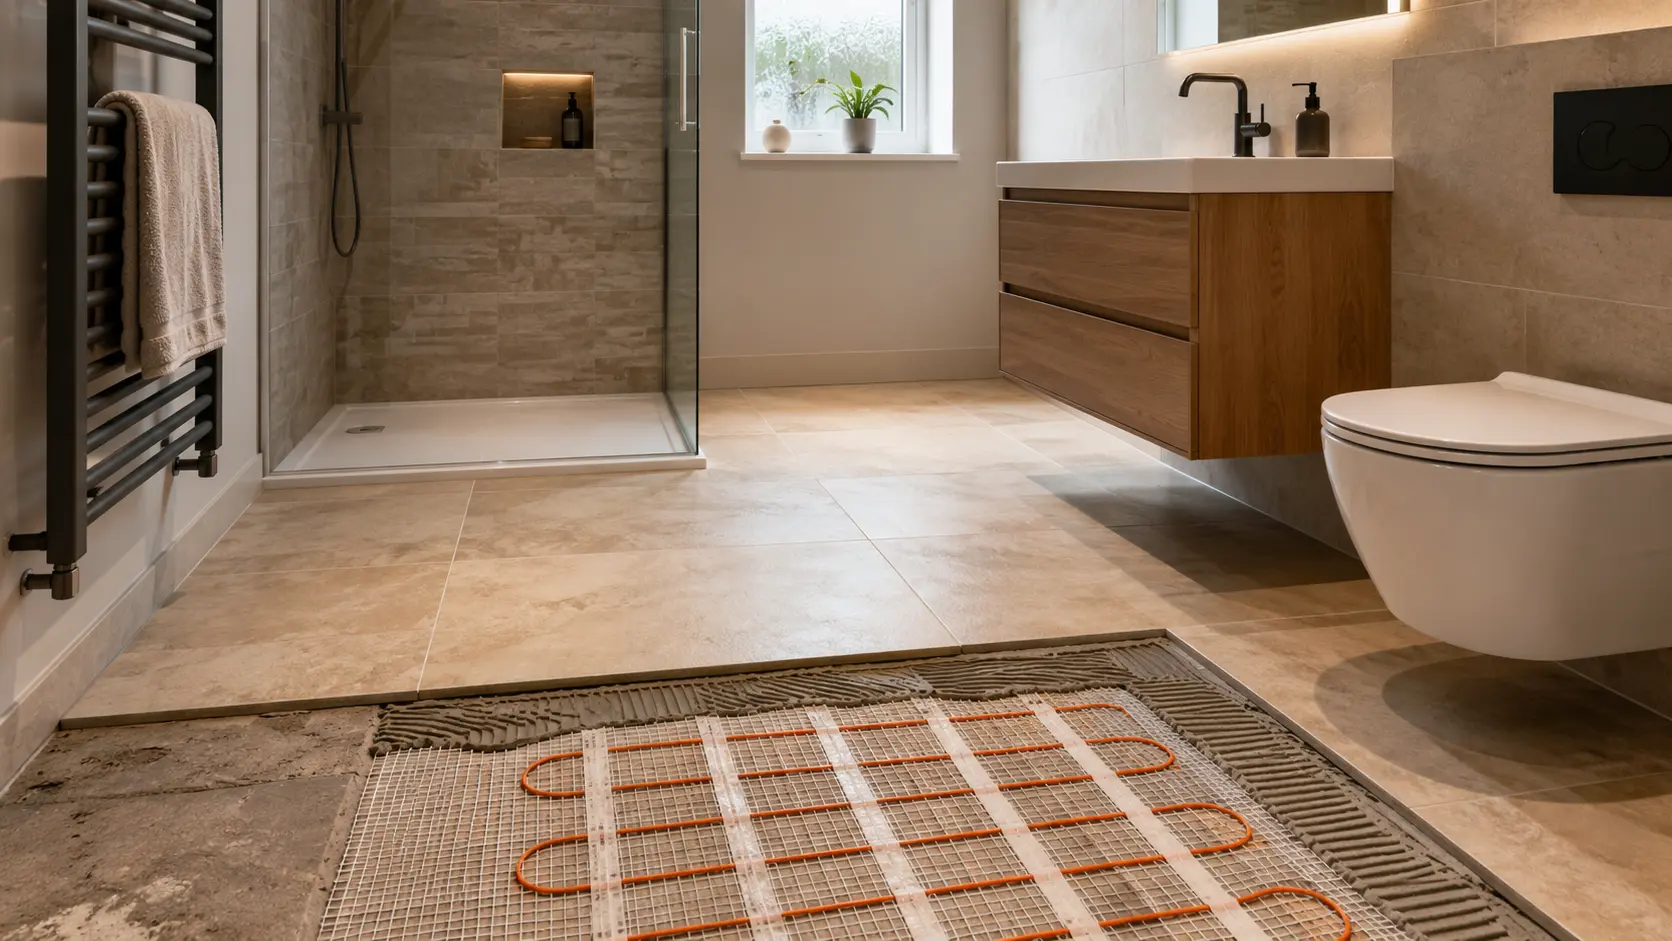
You do not need to cover every wall with the same material. Panels in the shower, tiles behind the basin and bathroom paint elsewhere can add interest and keep costs under control.
The transitions need to be planned from the beginning so trims, edges and furniture positions look intentional.
Questions to ask during your design visit
Look at physical samples in the room’s natural light. Ask how corners, window reveals and exposed edges will be finished. Consider whether the chosen pattern will repeat obviously across a wide wall and how easy replacement would be if a panel or tile were damaged.
Compare cleaning, repairs and long-term appearance
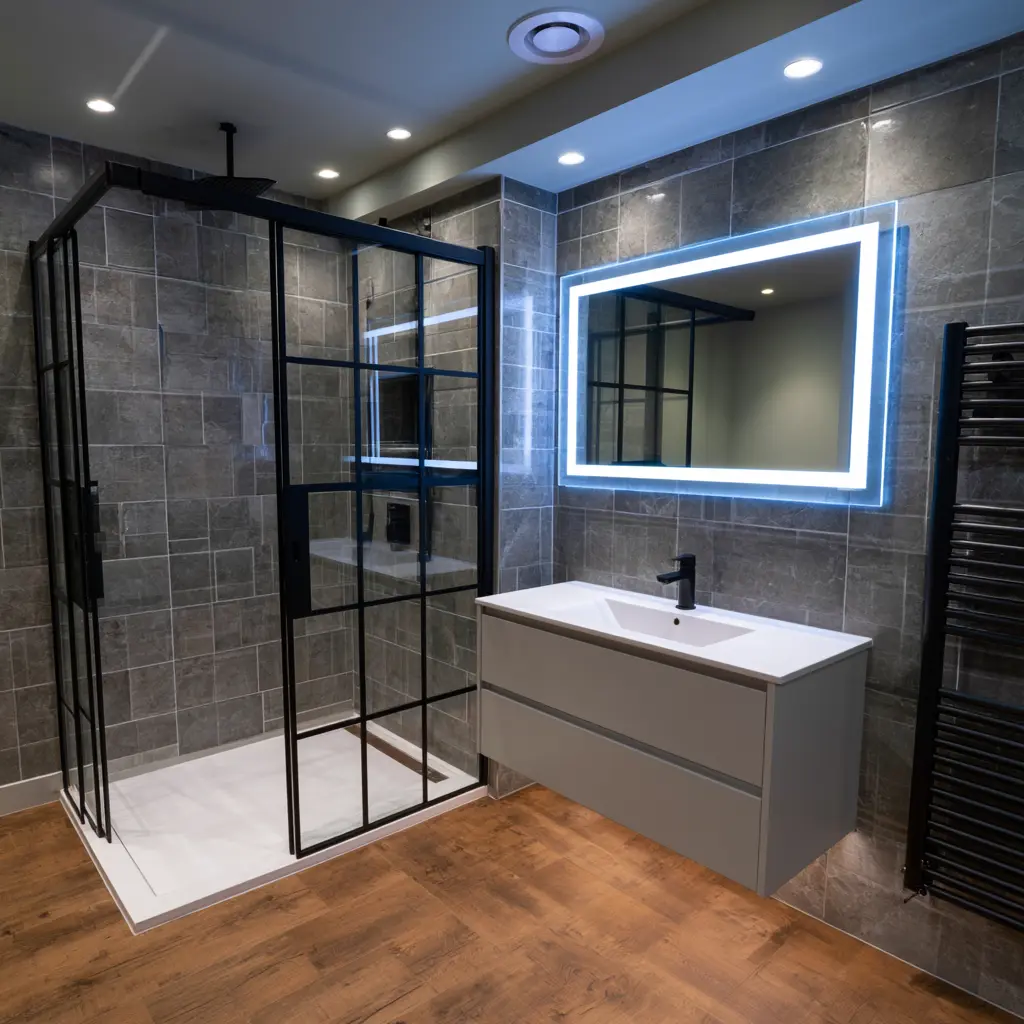
Panels have fewer joints, so there is less grout to scrub. They still need gentle cleaning and well-maintained seals. Tiles are extremely durable when fitted to a suitable background, but grout colour and joint width affect how much maintenance they need. Large tiles reduce joints, although they demand flatter walls and careful cutting.
Think about future repairs as well. A commonly available tile can sometimes be replaced individually, while a discontinued panel pattern may be harder to match. Keep spare tiles or details of the panel range after installation. Whichever finish you choose, correct preparation and waterproofing matter more than the surface alone.
- Look at full-size samples
- Check corner and edge details
- Ask about spare material
- Use bathroom-safe cleaning products
Choose the finish in the actual room
A small sample can look very different across a full wall. View it in daylight and with the planned bathroom lighting. Strong marble veins or repeated panel patterns may dominate a compact room, while very small tiles can make it feel busy. The direction of the pattern also changes the apparent width or height.
Use one material to lead the design and let the others support it. For example, calm panels in the shower can sit beside painted walls and a tiled floor. Planning the transitions, trims and colour temperature together produces a more expensive-looking result than choosing each surface separately.
The practical answer for most homes
Choose panels when low-maintenance shower walls and fewer joints are the main priorities. Choose tiles when you want detailed patterns, shaped areas or a traditional finish. Use both when the room benefits from a durable shower surface and a more decorative basin, floor or feature wall. The design does not have to be an all-or-nothing decision.
Ask the fitter to show how the material ends at the ceiling, bath, tray, window and external corners. These small junctions decide whether the finish looks deliberate. Also check how the surface should be cleaned and what seal maintenance is expected. A suitable material, installed carefully and cared for correctly, will outperform a fashionable choice fitted without enough preparation.
- Choose around maintenance
- Plan every visible edge
- Confirm the background preparation
- Keep spare material where possible